Creating a Document in Microsoft Word
The example below was taken from a company’s quarterly report made in Microsoft Word. It shows how to complete the following:
-
Insert a Cube View into a Word document.
-
Use parameters to display information from OneStream.
-
Insert a portion of a Word document using rich text content controls.
NOTE: When inserting content into a Word document, the embedded content takes on the page settings of the main document. To change the page settings for the inserted content, add a section break before the inserted content. After the section break, specify the desired page settings for the embedded content.
Insert a Cube View
NOTE: The same format for inserting an image is used in Microsoft PowerPoint and Excel. Also, as of a Microsoft upgrade Office version 1804 and higher, Microsoft has changed how the Alt Text Title property is stored for embedded images. This impacts the creation of extensible documents in OneStream. Existing extensible documents continue to run as expected as this only impacts newly created extensible documents if the user is on version 1804 (or higher) of Microsoft Office. Please see additional section below on this topic.

-
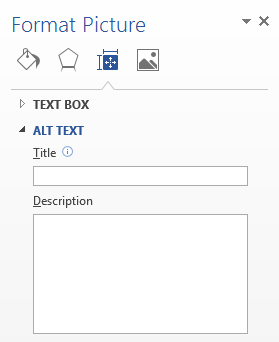
The OneStream logo is an image serving as a placeholder for a Cube View report. Any image can be used as a placeholder. Once the image is inserted into the document, right-click on the image and select Format Picture. Click Layout & Properties and expand ALT TEXT.
-
Navigate to the Object Lookup dialog box in OneStream. This dialog provides all the syntax needed to insert any type of report into an extensible document. This icon can be found on the following screens under the Application tab:
-
Form Templates
-
Books
-
Cube Views
-
Dashboards
-
Data Management
-
-
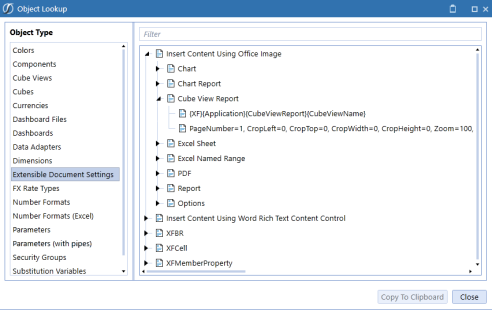
Once in the dialog box, expand the desired item type (Cube View Report in this case) and click Copy to Clipboard to copy the first string. Go back into the Word document and paste it into the Title field.
The string {XF}{Application}{CubeViewReport}{CubeViewName} displays in the field.
-
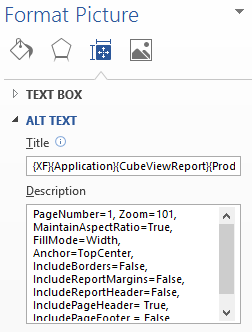
Update the {CubeViewName} with the name of the Cube View required for this document. In this example, the following syntax was entered for the Cube View: {XF}{Application}{CubeViewReport}{Product Sales}.
NOTE: See Extensible Document Settings for more examples on these different item types.
-
Navigate back to the Object Lookup dialog box and copy the second string under the desired item type (Cube View Report in this case). This is the standard formatting for the item type.
-
Go back into the Word Document and paste the string into the Description field:
PageNumber=1, Zoom=101, MaintainAspectRatio=True, FillMode=Width, Anchor=TopCenter, IncludeBorders=False, IncludeReportMargins=False, IncludeReportHeader=False, IncludePageHeader= True, IncludePageFooter = False, IncludeReportFooter=False, IncludePageFooter=False
NOTE: Any of these properties can be changed. See Extensible Document Settings for more formatting details and options.
Insert a Cube View Using Microsoft Office Update version 1804 and higher
NOTE: The same format for inserting an image is used in Microsoft PowerPoint and Excel. OneStream version 4.5.0 and higher is required to process these extensible documents.
The OneStream Logo is an image serving as a placeholder for a Cube View Report. Any image can be used as a placeholder.
-
After the image is inserted into the document, right-click on the image and select Edit Alt Text.
-
Navigate to the Object Lookup dialog box located in the OneStream application. This dialog box provides all the syntax needed to insert any type of report into an extensible document. This icon can be found on the following screens under the Application tab.

-
Once in the dialog, expand the desired item type (Cube View Report in this case) and click Copy to Keyboard to copy the first string. Then go back into the Word Document and paste it into the Description Field.
The string {XF}{Application}{CubeViewReport}{CubeViewName} populates the field.
-
Update the {CubeViewName} with the name of the Cube View required for this document.
In this example, the string {XF}{Application}{CubeViewReport}{Product Sales} is entered for the Cube View
NOTE: See Extensible Document Settings for more examples on these different item types.
-
Navigate back to the Object Lookup and copy the second string under the desired item type (Cube View Report in this case). This is the standard formatting for the item type. Go back into the Word document and paste the string into the Description field.
The string PageNumber=1, Zoom=101, MaintainAspectRatio=True, FillMode=Width, Anchor=TopCenter, IncludeBorders=False, IncludeReportMargins=False, IncludeReportHeader=False, IncludePageHeader= True, IncludePageFooter = False, IncludeReportFooter=False, IncludePageFooter=False populats the field.
NOTE: Any of these properties can be changed. See Extensible Document Settings for more formatting details and options.
Using Parameters
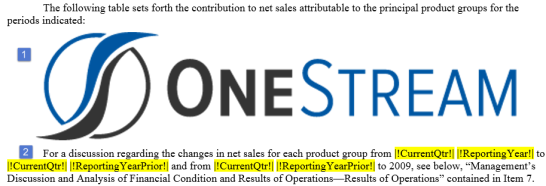
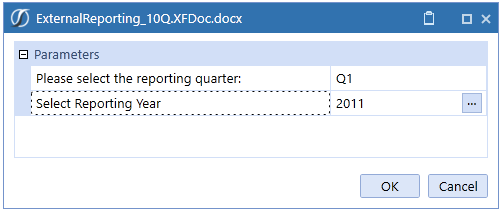
In this Word document example, all the information is typed normally, but parameters were inserted in places to obtain information from OneStream. Three parameters named |!CurrentQtr!|, |!ReportingYear!| and |!ReportingYearPrior!| were created to display the appropriate years and quarters for this document. When the extensible document is processed at run-time, it prompts to select the reporting quarter and reporting year.
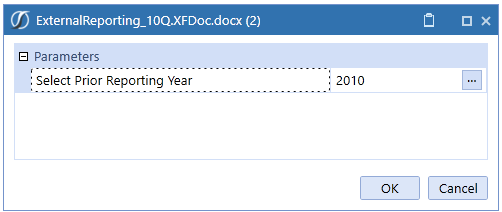
Next, it prompts the user to select the prior reporting year:
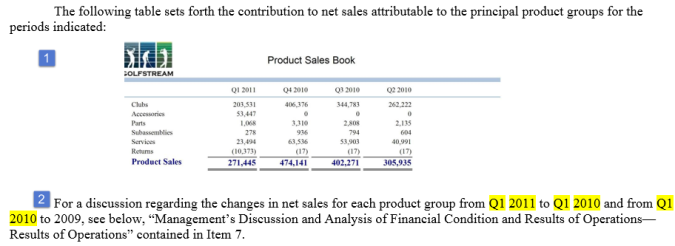
After selecting parameters, the document displays the desired data.(Highlighted in yellow below)
Insert a Word Document through Rich Text Controls
-
In the Word extensible document, navigate to the section where the separate Word document needs to be inserted.
-
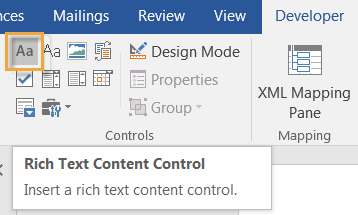
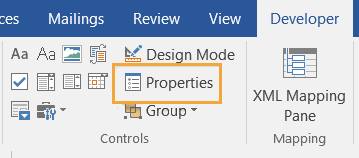
Click the Developer tab in the Word ribbon and click the Rich Text Content Control icon
TIP: If the Developer tab is not visible, right-click on the ribbon, select Customize the Ribbon, and select the Developer check box.
-
Select the Content Control and click Properties on the Developer tab.
This opens the Content Control Properties dialog box. The Title and Tag fields define the extensible document content.
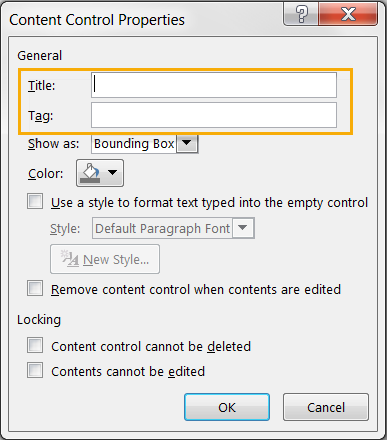
The Title field is where the content item is specified. The Tag field is where additional formatting settings are specified and only applies when embedding a Cube View or dashboard report.
-
Navigate to the Object Lookup
 and select Extensible Document Settings. Expand Insert Content Using Word Rich Text Control Content and then expand Microsoft Word Document.
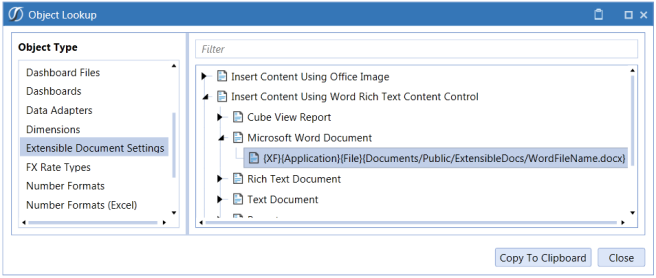
-
Select the string and click Copy to Clipboard, then navigate back to the Extensible Word Document and paste the string into the Title field. The string {XF}{Application}{File}{Documents/Public/ExtensibleDocs/WordFileName.docx} populates the field.
-
Edit the string’s file path to specify the exact location of the Word document being embedded into the document. In this example, the final string is {XF}{Application}{File}{Documents/Public/XF Docs/Documents/Form10_Q.docx}.

-
Ensure all changes are saved, navigate back into OneStream, and open the File Explorer.
-
Upload the extensible document into the File Explorer, select the file and launch it. The Word Document is now embedded in the extensible Word document and can be formatted as desired.